
- Virtual tours engage prospective members by enabling them to experience your location without leaving your website.
- Not to be confused with a video tour, a virtual tour — also known as a 3D or 360 panoramic tour — enables people to interact with the space and zoom in on features.
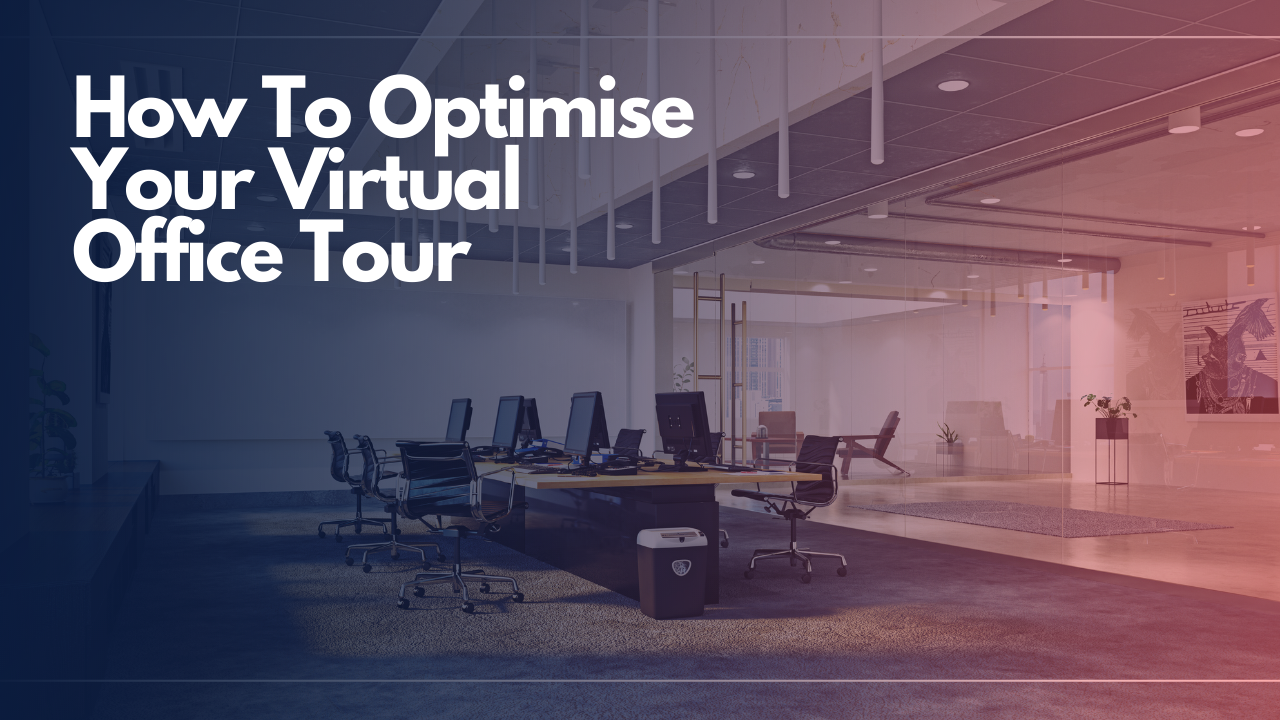
- From tripod positioning to maximising natural light, these 7 tips explain how to optimise your virtual tour.
Office virtual tours are experiencing a boom, for obvious reasons. But the savviest operators were leveraging this technology way before the pandemic hit.
Known in the marketing world as ‘sticky content’, virtual tours engage prospective members by enabling them to experience your location without leaving your website. Sure, they’ll likely want to come see it in person too, but it means they will do so as a more ‘qualified’ prospect.
What is a Virtual Tour?
A virtual tour, also referred to as a 360 panoramic tour or 3D virtual tour, shouldn’t be confused with a video tour. Video tours are a very effective marketing tool but they differ in that they only allow website visitors to see the point of view of the presenter or videographer.
Virtual tours, on the other hand, provide visitors with control over their perspective, enabling them to zoom in on features and explore at their own pace.
Panoramic tours are created using a series of photographs or videos taken from one vantage point. The camera’s lens rotates around the ‘no parallax point’ – the specific point at the back of the lens where the light converges.
There are lots of companies out there who can create a virtual tour for you, so don’t be afraid to outsource. If you decide to have a go yourself, you’ll need a camera which can shoot 360° panoramic footage remotely and virtual tour software (or an app).
How to Optimise Your 360 Virtual Tour
1. Plan your virtual tour shots
Compose a list of the areas in your workspace you’d like to include in your virtual tour – private offices, coworking areas, breakout spaces, kitchens, roof terraces, etc. Find a vantage point in each area that will enable you to capture all of its features. You could use the centre of the room. Failing that, select a more convenient spot and mark it with tape.
2. Prepare each space
Once you’ve planned the camera positions in each area, it’s time to prepare the room for the recording. Remove anything that will obstruct the camera’s view, tidy up by organising desks and chairs neatly and take anything that might distract the viewer out of the shot. People like to work in environments with lots of natural light, so be sure to open any blinds.
3. Level your tripod
For image consistency and to ensure straight angles, you’ll need to make sure your tripod is level in every shot. Your tripod might come with its own spirit level – simply adjust the legs until the bubble is in the middle. If it doesn’t, you can download a leveling app using your smartphone.
4. Practise your shots
Practise makes perfect, as the old saying goes. Before uploading your content, take practice shots of each part of your workspace and analyse them. The first thing to look out for is whether you can see your camera’s reflection in windows or mirrors.
If so, you’ll need to reposition your camera. Likewise, check for any distractions or darkness that will compromise the quality of your virtual tour.
5. Take your photos
Once you’ve demo-ed your technology and framing, it’s time to get stuck in. Find the vantage point that you’ve marked out in each room, set up the tripod and take the pictures. You can check images as you go and retake photos before moving to the next area. It’s better to have a selection to choose from than too few.
6. Upload your photos
Use your chosen virtual tour software or app to connect the images together and complete your virtual tour. You’ll have to upload your images and follow the prompts. Lots of programmes enable you to optimise the viewers experience by adding features such as interactive links, audio descriptions, floor plans and music.
7. Share your virtual tour
Embed the virtual tour into your website and share it across your social media channels. You can share a link to it in emails to any prospective members that come your way and you can also generate a QR code that links directly to the virtual tour when scanned.
Office Virtual Tour Examples
Staying up-to-date with the latest marketing and technology trends is important if you want to remain relevant in a competitive landscape.
Don’t be afraid to experiment and ask your peers for guidance when needed. Before embarking on your own virtual tour journey, take a look at how other operators are utilising the technology: check out Mindspace in Bucharest and Knotel, in London, for instance.


